Italian Easter Bread
One of my favorite family traditions of all time is making this very Easter Bread on Good Friday every year. This recipe is 100+ years old, probably even 200 years old to be honest. This recipe has come along way literally but also because when my parents first received the recipe it made no sense..ha! My great grandma had scratched some notes on a paper that resembled a recipe but it pretty much had no measurements. After years of trial and error and a culinary degree I think I have mastered it. It does take practice as you need to get a feel for how the dough should feel but what I always tell people is, not get stressed over it because just as long as you’ve got yeast, flour and egg, it will become some sort of bread ;) Right!? Check out the recipe below! Youtube video coming soon!
Ingredients-
1.5 packets of Dry Yeast
1/2 Cup Warm Water
1.5 cups granulated white sugar, Plus 1.5 Teaspoons
6 large eggs at room temperature
1/2 cup warm milk
9 to 10 cups all purpose flour (It can vary based on the texture of the dough)
1.5 teaspoons fine table salt
2 sticks unsalted butter (softened but NOT Melted)
Canola or vegetable oil for greasing the bowl
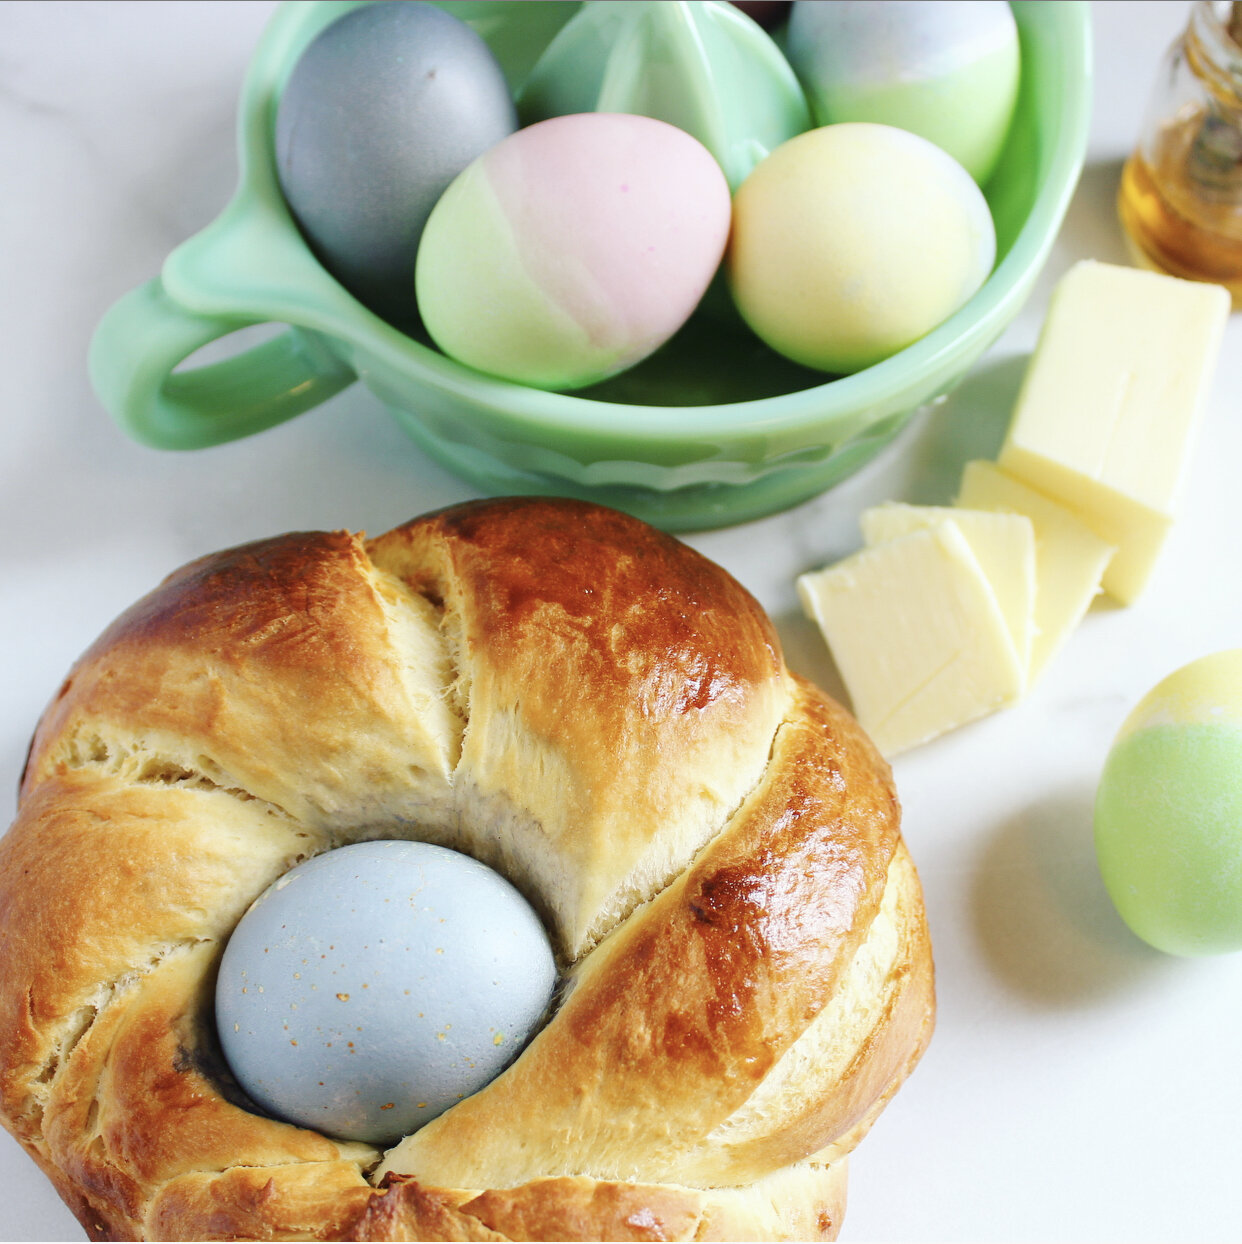
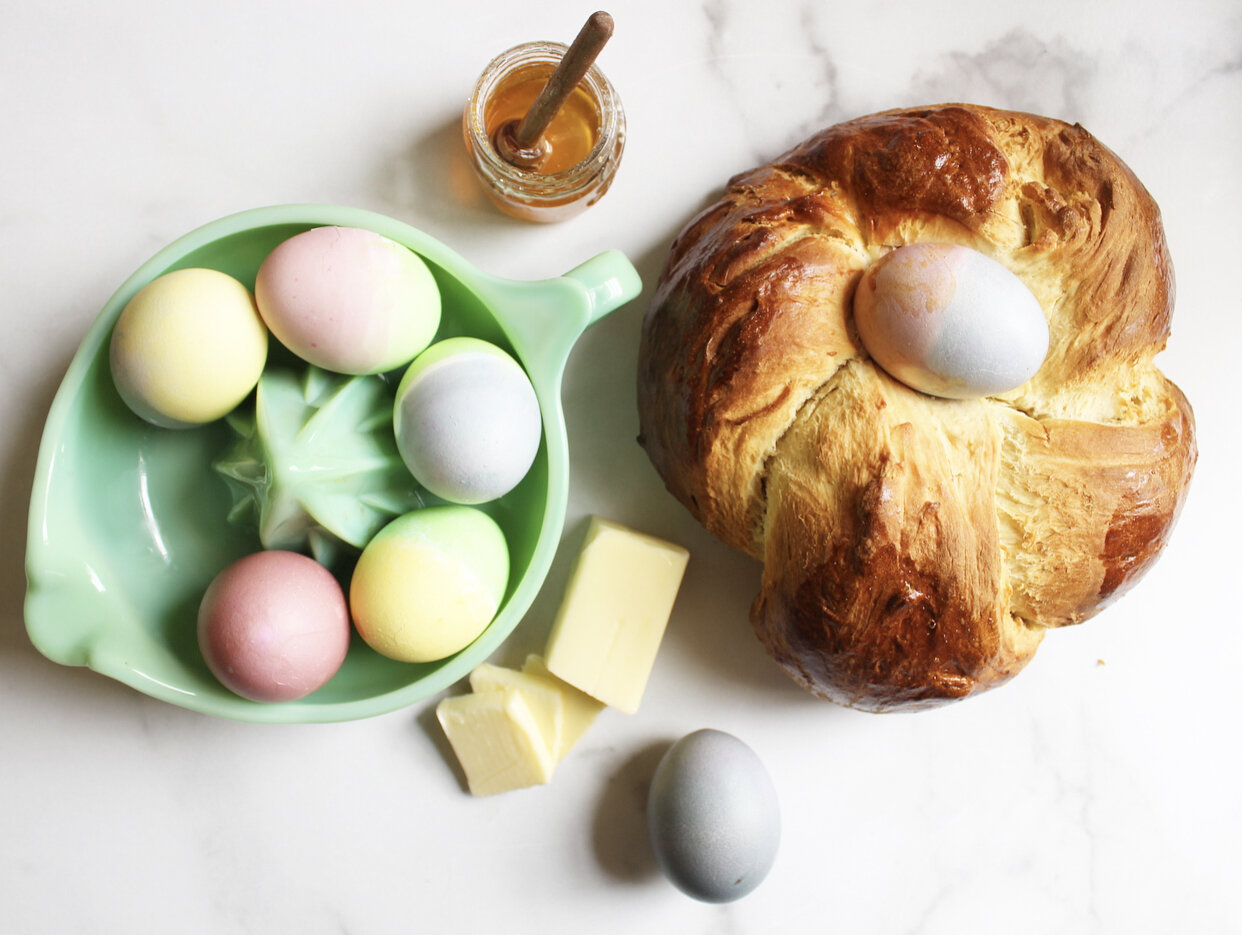
Roughly 6-8 Hard boiled dyed Easter eggs! Don’t use any glitter or any non edible decorations on them bc they’re I’ll be baked into the bread. Just food dye! Make sure you do this a day ahead so they’re dry.
Egg Wash- 1 Egg and 1 Tablespoon of Milk or Cream (beaten together)
Steps-
Make the Dough-
In a liquid measuring cup measure out 1/2 Cup warm water. Sprinkle in the yeast and 1.5 teaspoons of sugar. Stir and set aside for 10 minutes so the yeast can activate.
While the yeast is blooming measure out your dry ingredients. In the large bowl of a stand mixer (this can also be done by hand in a large bowl with a wooden spoon, just takes more elbow grease) add 6 cups of flour, 1.5 cups of sugar and 1.5 teaspoons of salt. Stir it together with a spoon by hand and then place the dough hook attachment on your mixer.
In a separate bowl add the warm milk and 6 eggs. Beat them together with a whisk just until combined.
After 10 minutes your yeast should appear foamy and puffed up slightly. If not wait a few more minutes. With the mixer on low speed add the yeast/water mixture. Just mix until combined about 1 minute.
With the mixer on low speed gradually add the egg mixture until the dough ball starts to form. Your dough will be very sticky, too sticky. Add another cup of flour slowly with the mixer still running. Using floured hands or a rubber spatula pull the dough from the sides of the bowl if it is too stick. Add another cup of flour and mix until incorporated. Add another cup of flour if it is too sticky, you want the dough to be coming away from the sides of the bowl and forming a nice ball. In total I put 9 cups of flour.
Once the ball of dough is formed, run the mixer again on medium/low speed and add the softened butter 2 tablespoons at a time, allowing it to mostly incorporate after each addition. Keep repeating until all 2 sticks of butter are added to the dough. The dough should be nice and smooth and not so sitcky that it comes off onto your hands when you touch it. If it is too sticky still add another 1+ cups of flour slowly until it is just right.
Lightly grease a large bowl with vegetable oil. Remove the ball of dough from the mixing bowl and place it onto a clean surface dusted with flour. Knead the dough by hand for a few minutes until it gets nice and smooth and then place in the greased bowl. Cover the bowl loosely with plastic wrap and then set it aside in a warm place fro about 3 hours or until the dough almost doubles in size. I cover my dough with towels or blankets to help keep it warm.
Dough Assembly-
After the rising period remove the plastic wrap from the top of the bowl and punch down the dough with your fist. Place the dough back onto your floured surface and knead the dough a few times just to release any air. Now its time to make your desired shapes! One of the traditional shapes is to do the following-
Cut the dough into 6 equal pieces.
Cut each of the 6 pieces in half and roll out to about 9 inches long.
Pinch one end together.
Now twist the two ropes together like this. Pinch the other end together.
Next, join the ends to each other to form a ring, twisting as necessary to keep the ropes from undoing themselves. Place a colored egg into the center of the ring.
You can also many little basket shapes by taking a baseball size ball of dough and lightly flattening it with your hand. place an easter egg right in the center and press down gently. Next Make a smaller twist or braid (but with only 2 strands of dough not three) and place the twist across the top of the egg in the center like a basket handle.
Bake The Breads-
After your breads are shaped, place them on parchment paper lined sheet pans. Be sure not to crowd the pans, the breads will grow quite a bit when they bake. Cover them again with plastic wrap and set them aside for 30 minutes to proof or rise again slightly. While they are resting preheat your oven to 350F.
Using a pastry brush lightly brush the tops of your breads, trying to avoid the dyed eggs. You can also sprinkle on some sprinkles at this stage if you’d like.
Bake the breads in the oven anywhere from 35-55 minutes depending on the size of your breads. For 6 smaller breads it they will bake around 40 minutes.
Remove from the oven and allow to cool for about 5-10 minutes before enjoying with some slated butter and even a drizzle of honey if you’d like!
To store them allow them to cool on wire racks and then tightly wrap them in aluminum foil. Keep them on your counter at room temperature. Warm them in the oven before enjoying if you prefer, they will keep about 3 days.